How to deploy a git repository
Before we begin with the deployment process, there are a few
prerequisites that you must have:
Step 1: You need to have a domain and a server. This can be
any hosting plan that you've subscribed to.
Step 2: You need to have a GitHub account where you've
pushed your code.
------------------------------------------------------------
❤ Click Here For Server Link: http://www.hostinger.com/thapa7 ❤
❤ For Thapa Family Use Special Discount Coupon: THAPA7 ❤
-----------------------------------------------------------
Now, let's move on to the steps for deploying a GitHub
repository on shared hosting:
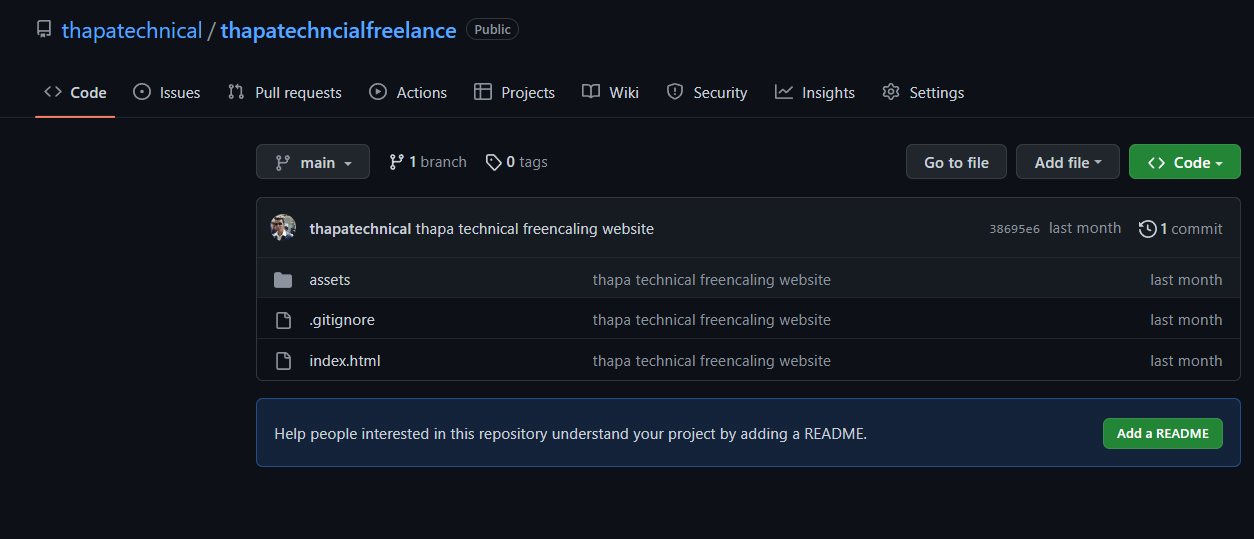
Step 1: First, you need to write your website's code and
push it to the GitHub repository. Make sure that your code is up-to-date on the
GitHub repository.
Step 2: Log in to your Hostinger account and click on the
"Manage" button next to your web hosting plan (such as Personal,
Business, etc.) on the homepage.

Step 3: You will be redirected to the dashboard. On the
left-hand side, you'll see the name of your website. Select the website that
you want to deploy using Git.

Step 4: Next, click on the
"FileManager" section. This will redirect you to the HPanel of
Hostinger. Once you're in the HPanel, find the "public_html" folder
and open it. If this is your first time deploying a website, there won't be any
files in this folder. However, if you're replacing an existing website, you
should download the old website files and save them on your local drive for
future use.
Once you've downloaded any
existing website files, delete all the files in the "public_html"
folder.

NOTE:
The install path directory must
not contain any files or folders, otherwise, the deployment will fail.
Step 5: Go back to your dashboard
(as explained in step 3) and click on "Advanced" on the left-hand
side of the screen. From the dropdown menu, select "Git".

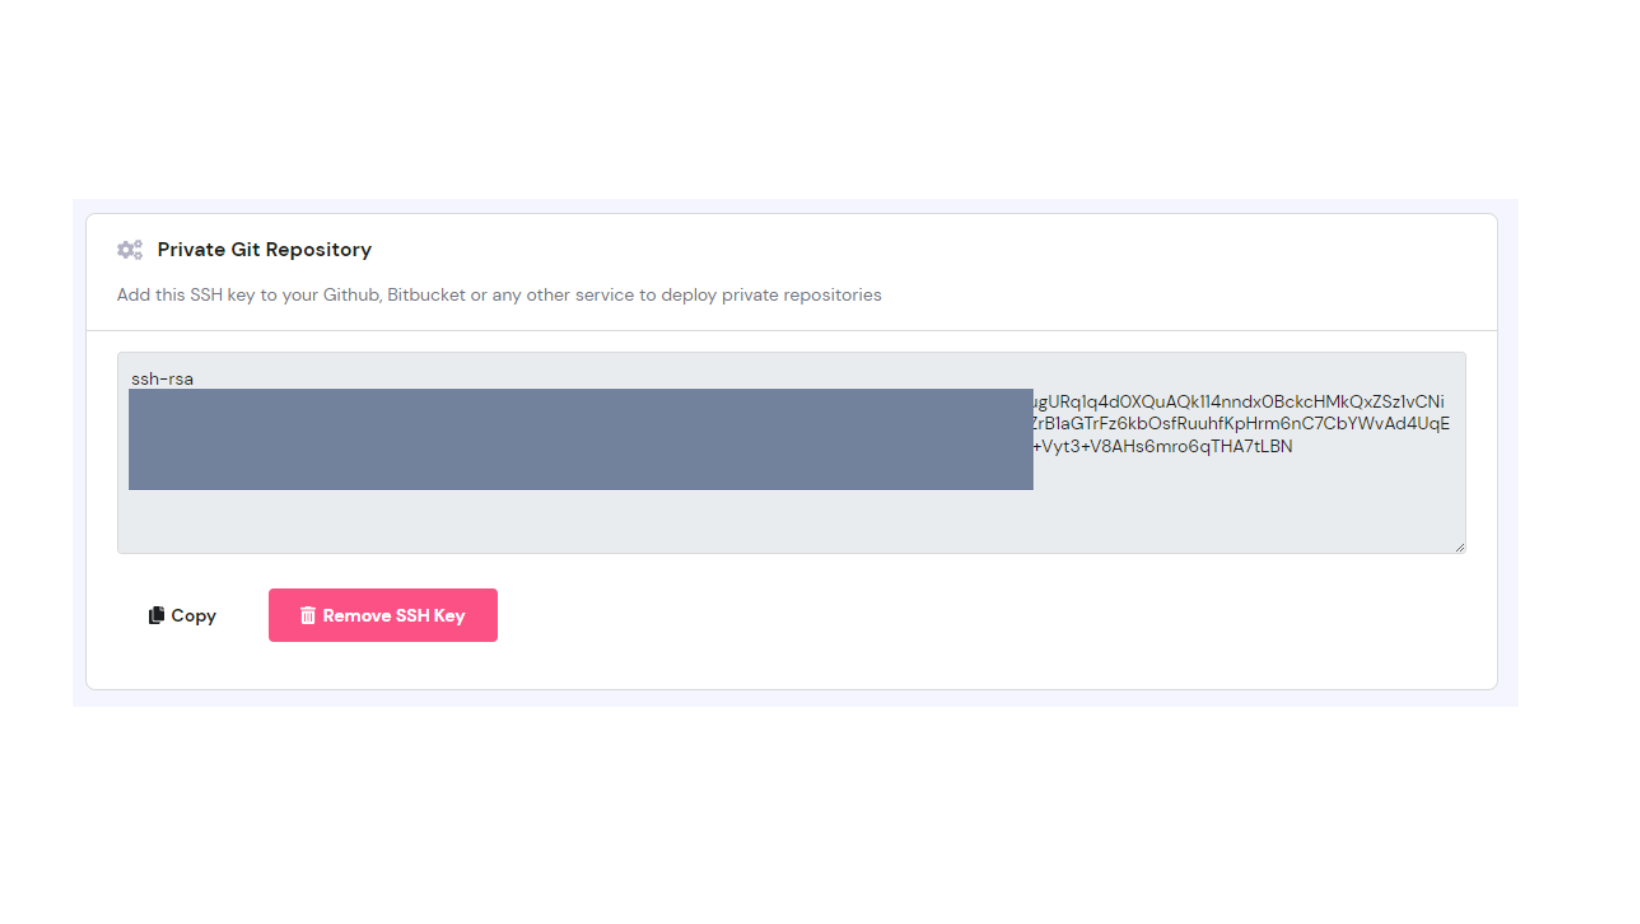
Step 6: After opening the Git
page, the first thing you need to do is copy the SSH key and add it to your
GitHub account. Even if you're deploying a public GitHub repository, it's a
good practice to add the SSH key for security reasons.
To learn how to add an SSH key to
your GitHub account, follow this link:
Step 7: To get started, go to your GitHub repository and
copy either the HTTPS or SSH link of the repository that you want to deploy.
Note:
For public repositories: https://github.com/WordPress/WordPress.git
For private repositories: git@github.com:WordPress/WordPress.git

Step 8: Just paste the GitHub repository link into the
Repository field, specify the branch name, and leave the Directory field blank.
(Remember to delete or empty the public_html file, as instructed in step 4.)
Finally, click on the Create button.

Step 9: After adding a new repository to your account,
you'll see four buttons:
Deploy: This will deploy your existing repository.
Continuous Deployment: This feature lets you
automatically deploy your projects every time you make new commits to your
repository.
Latest Build: This button displays the most recent build
output.
Delete: Use this button to remove the selected repository.
Step 10: Once you've selected the branch and entered the
directory name, you can deploy the existing code to your website by clicking on
the "Deploy" button. If you want to enable the functionality where
your website is automatically updated whenever you push code to GitHub, select
"Continuous Deployment" instead. This will open a popup modal, where
you can copy the webhook URL and add it to your GitHub repository. The
instructions for adding the URL to your repository will be provided in the same
popup modal.
Once you've added the webhook URL to your GitHub
repository, your website will automatically update whenever you push new code
to your repository from your local system. This is an awesome feature that
saves a lot of time and effort!


